Advanced Search | Search Tips
Change Currency
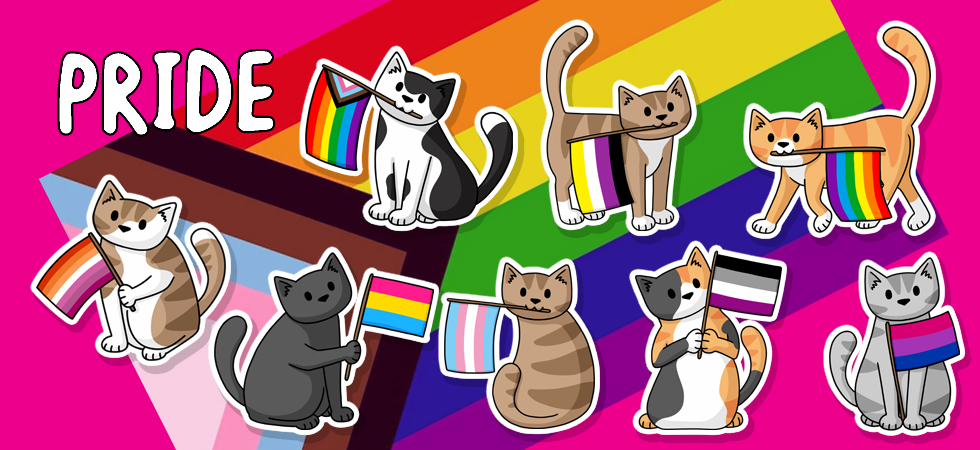
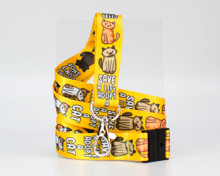
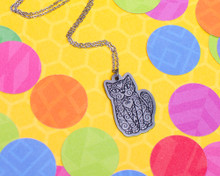
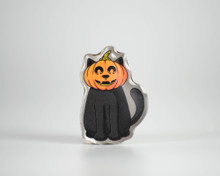
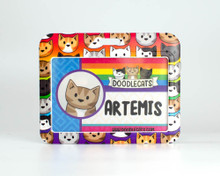
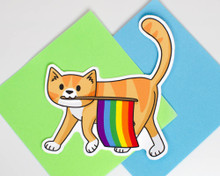
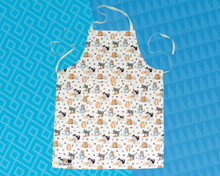
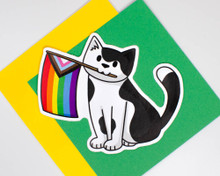
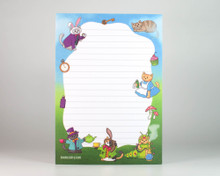
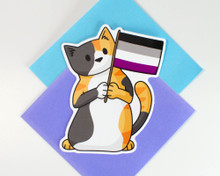
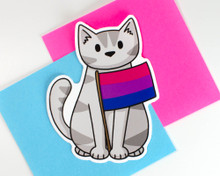
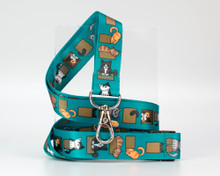
Find the perfect DoodleCats product to match your beloved cat(s)!
For the latest news and offers, please sign up to our newsletter here!
All prices are in GBP © copyright DoodleCats Shop, 2024 . Sitemap
 Loading... Please wait... Loading... Please wait...